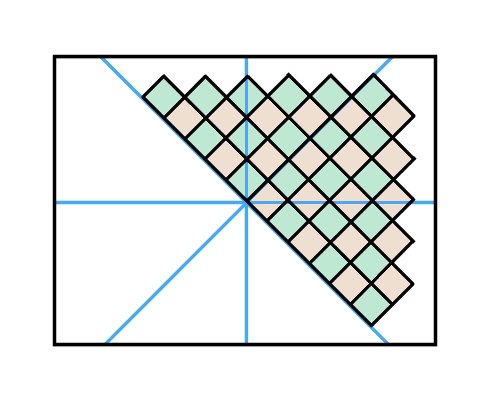
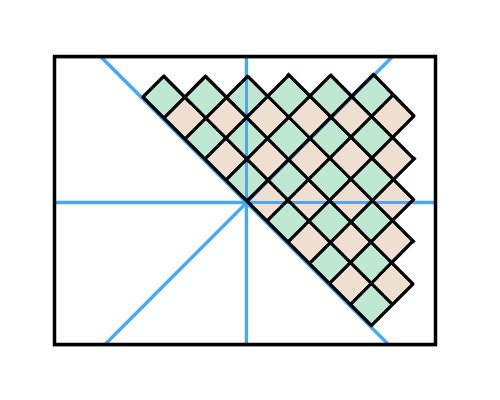
Diagonal layouts
 Audio for slide 2 (mp3 |6|KB)
Marking the working lines
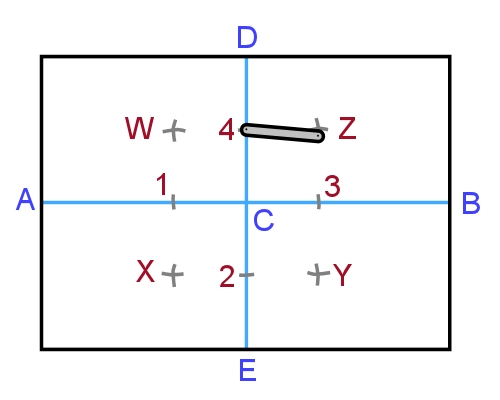
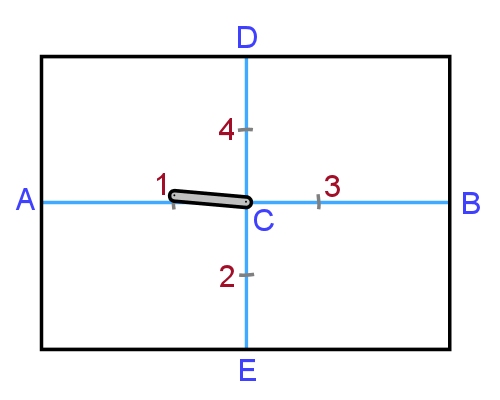
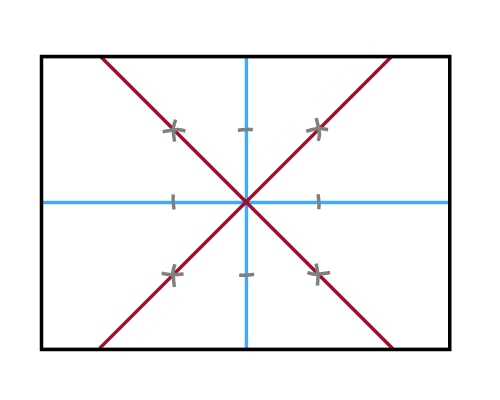
- Find the centre point (C) and mark the centre lines as shown in the Section 2 lesson 'Finding the starting point'.
- Using a marking gauge or bar scriber, mark the points 1, 2, 3 and 4.

 Audio for slide 4 (mp3 |6|KB)
- Strike a chalk line to form the line XZ.
Do the same to form WY. - Check that the tile widths balance properly at the walls using the techniques described in the lesson 'Marking working lines'.

 Audio for slide 6 (mp3 |6|KB)
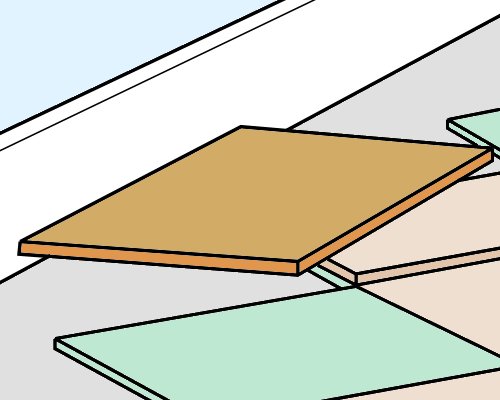
To check that the field tiles are being laid accurately, you can draw reference lines at right angles to the original centre lines to make sure that the points of the tiles are lining up correctly.
To mark the cut for the border tiles, you can use a template cut from a piece of sheet material. See the video in the learning activity below for details on how to make the template.
Place the tile to be cut in the space where the last full tile will go and mark it accordingly.
Then cut it and push it hard against the wall, with a full tile behind it to check that the cut is correct.


Learning activity
Audio 7 (mp3 |6|KB)Go back to the Armstrong 'Vinyl tile installation' clips under the following link:
This time, select Part 2 to see the diagonal layout techniques.
Watch the video and then answer the following questions:
- How wide is the square piece of sheet material that's cut to size to form a marking template?
- What material does the installer use as a template for scribing corners and architraves?
- What tools does the installer use to mark the guidelines for the corners and architraves on the template?

 Go to Corridors and columns