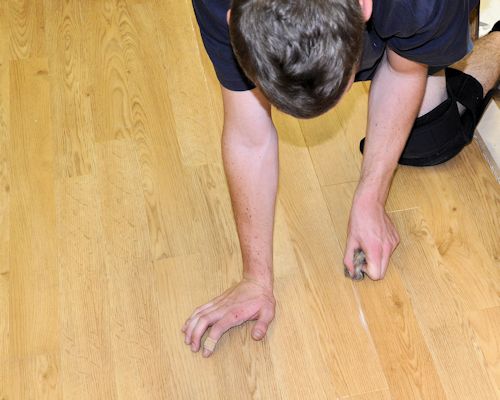
Finishing the job
 Audio for slide 2 (mp3 |6|KB)
Protecting the new floor
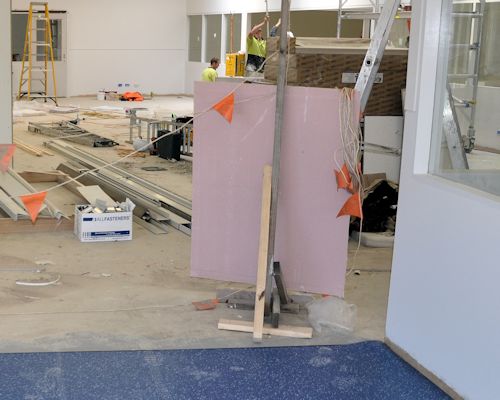
Depending on the type of worksite you're at, you might need to put up signs or barriers to stop people from entering the area until the adhesive has fully cured.
In high traffic areas you can also put a protective covering over the floor to minimise the chance of damage.
If you do, make sure the covering doesn't have a rubber or latex backing that might discolour the floor surface.

 Audio for slide 3 (mp3 |6|KB)
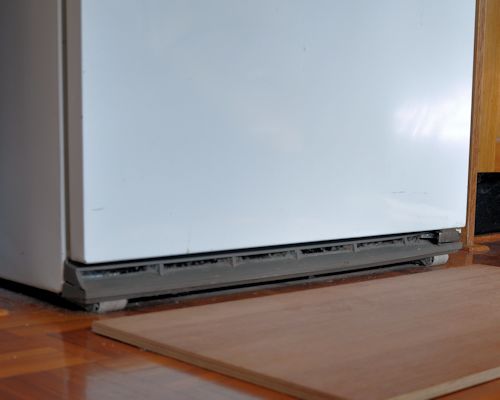
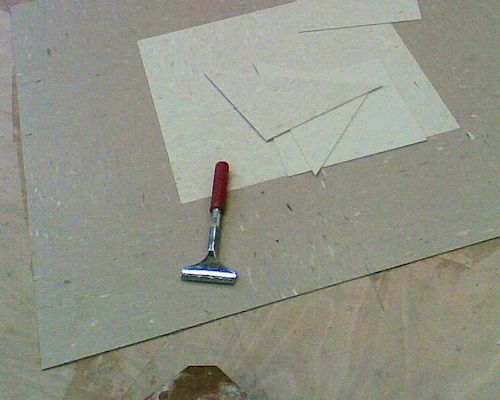
Slide the first board under the object as you lift it off the floor one side at a time.
Then put another board beside the first one and push the object over the boards.
Don't roll or drag the object directly across the new flooring material.

 Audio for slide 4 (mp3 |6|KB)
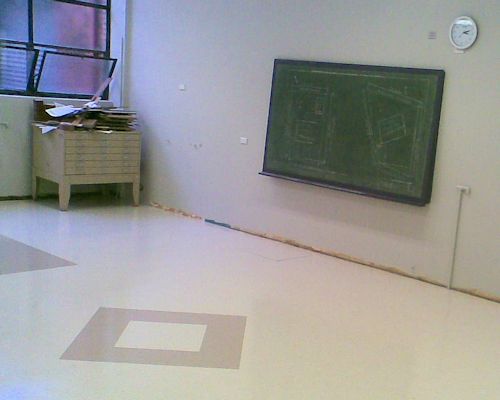
Even objects on wheels or casters need to be pushed across wood panels, because if the adhesive isn't fully cured they'll leave grooves in the floor surface.
Commercial floors should be protected from rolling loads for at least 72 hours after the installation is finished.

 Audio for slide 5 (mp3 |6|KB)
Housekeeping
Take all your rubbish and materials with you, except for left-over tiles that might be useful to the client for future repairs.
Be particularly careful with hazardous products that need to be disposed of in an approved way.
You'll find more details on this topic in the unit: Working sustainably.
Don't put materials or rubbish in doorways or other access ways, because they'll probably get knocked over and end up being a trip hazard.
Keep everything well stacked and out of everyone's way.

 Audio for slide 6 (mp3 |6|KB)
Maintenance
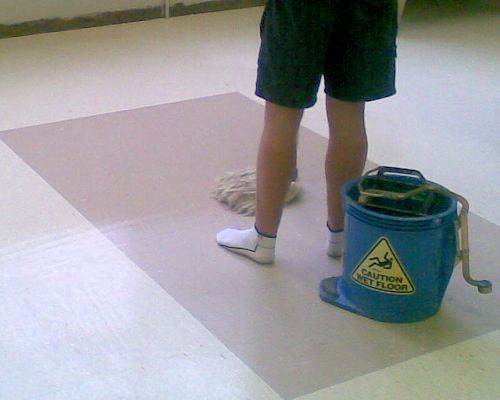
It's important to give the floor a good clean once the job is completed.
You need to make sure that there is no grit left behind that could scratch the floor and no marks or dirt that might look unsightly.
However, you must wait 72 hours before using a wet mop, to make sure the adhesive has had time to set.
Also be careful not to over-wet the floor in its initial clean. The video clip below provides more details on the process of mopping, buffing and polishing the floor.


Learning activity
Audio 7 (mp3 |6|KB)Go back to the Armstrong Flooring videos page at the link shown below.
Click on the 'Vinyl tile installation' tab and select: Part 6 (maintenance).
Watch the video and then answer the following questions:
- What colour pad should you use on the rotary machine after carrying out the first wet scrub and before applying polish?
- What is the best type of broom to use to remove dust?
- How would you ensure an even coverage of the polish when it's applied with a mop?
- What colour pad should you use for buffing the floor once the polish has dried?

 Go to Assignment