Architectural conventions
 Audio for slide 1 (mp3 |6|KB)
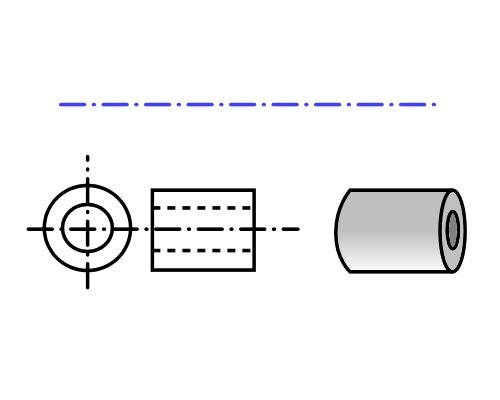
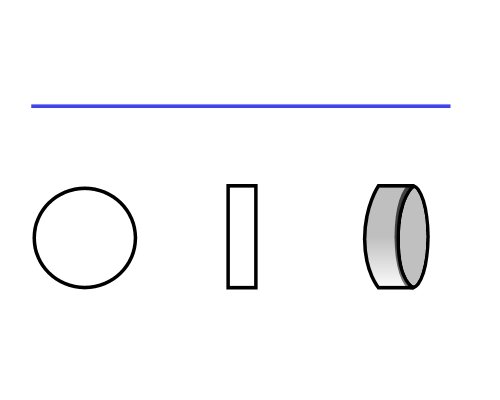
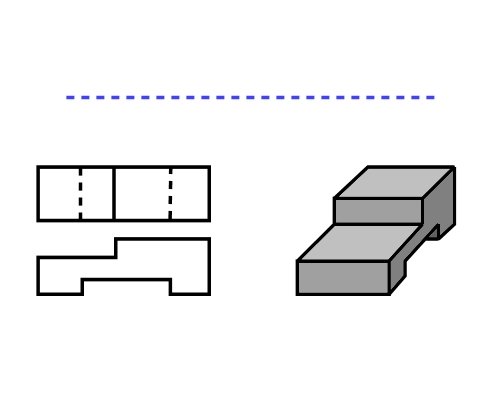
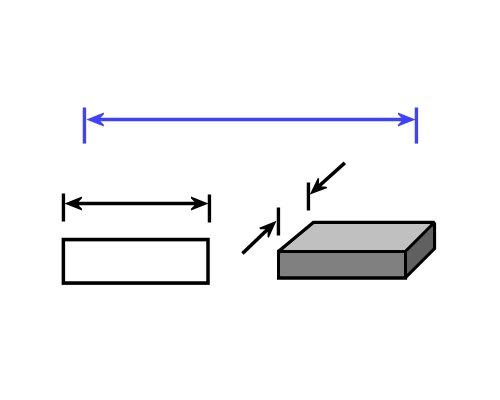
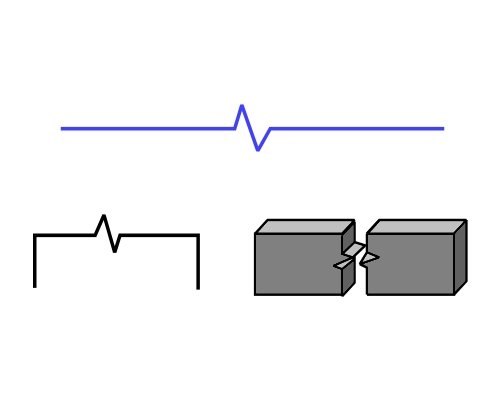
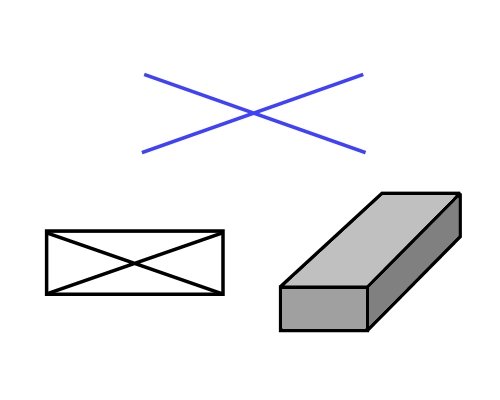
Different sectors of the industry use their own specialised symbols for details that relate to their specific line of work, however, there are some general conventions that are common to all drawings.
Although these conventions sometimes vary in style, according to the software used or person producing the drawing, the basic concepts remain the same. Below are some examples of standardised architectural symbols.

 Audio for slide 9 (mp3 |6|KB)
Reading two dimensional plans
Although clients are often shown three dimensional drawings of what a finished project will look like, the actual working drawings that specify the dimensions and other installation details will always be two dimensional.
In other words, they will either be in:
- plan view (from above),
- elevation (from the side), or
- section (a cross section).


Learning activity
Audio 10 (mp3 |6|KB)As a tradesperson, you need to be able to 'see' the different 2D views in your head and be able to match them up with the real world 3D installation area.
Here is an exercise that will help you practise this skill.
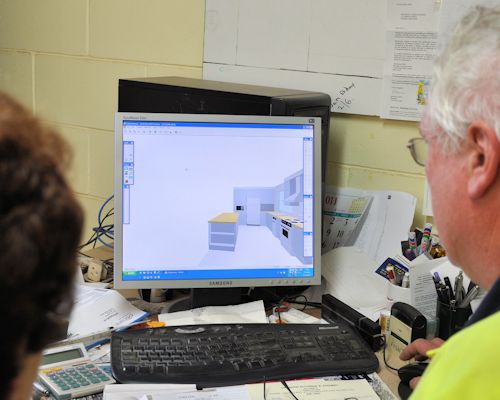
Below are links to three drawings of a kitchen project generated in a computer aided design (CAD) software program. They show a floor plan, rear elevation and 3D drawing.
Have a close look at each of these views and examine the way particular features appear from the different perspectives.
See if you can do a simple sketch on a piece of blank paper of the floor plan, using only the 3D drawing and rear elevation as a guide. Then compare your drawing with the floor plan.
There is no need to mark in the dimensions, but try to draw to scale as accurately as possible.

 Go to Key information on plans