 Audio for slide 2 (mp3)
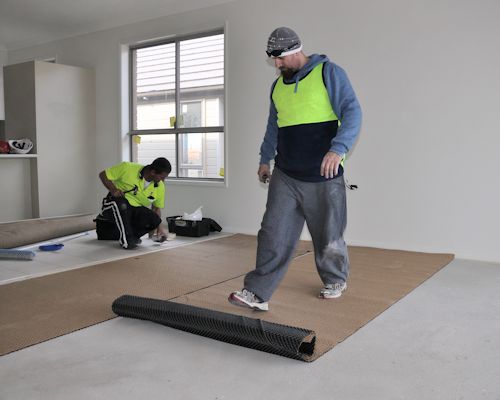
Before you put any sort of underlayment, adhesive or floor covering onto a concrete subfloor, you need to make sure the surface is suitable for the specific material that will go on top. If the surface isn't suitable, you have to decide what treatment to apply to solve the problem. Often the only solution is to remove the surface layer until you expose clean, sound concrete.
 Audio for slide 3 (mp3)
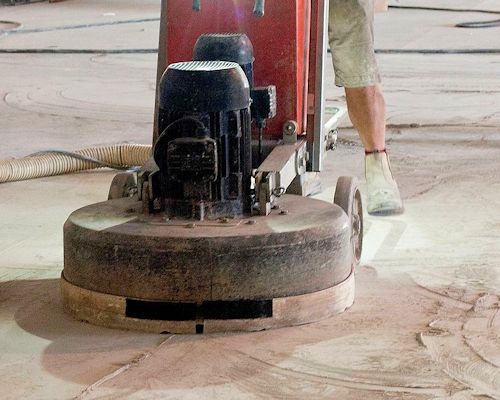
In this unit we'll cover the processes of selecting, operating and maintaining concrete grinding equipment. We'll also touch briefly on other forms of mechanical preparation and make comparisons between the different surface finishes achieved.
 Audio for slide 4 (mp3)
References Much of the technical information in this unit is drawn from the publications and website material provided by the three companies listed below. For more details on the concepts presented in this unit, you should go to these websites and follow the links to their technical guidelines and information pages. Floorex Products Worx+ All Preparation Equipment
 Audio for slide 7 (mp3)
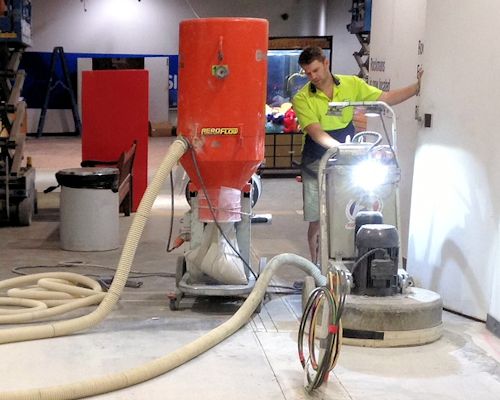
In this section, we'll look at the range of 'surface prep' machines used to remove the top layer of concrete from a slab. We'll talk about their pros and cons and the finish they produce. Then we'll focus on grinding machines and examine the different types available and the tooling they use.
 Audio for slide 8 (mp3)
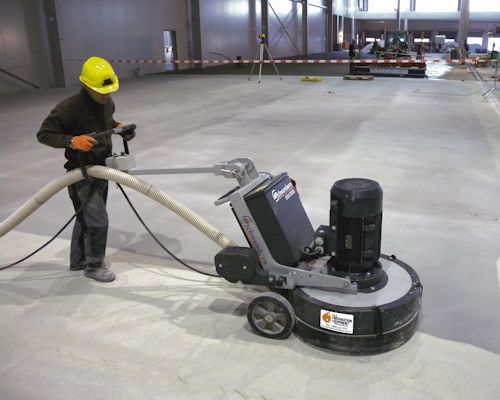
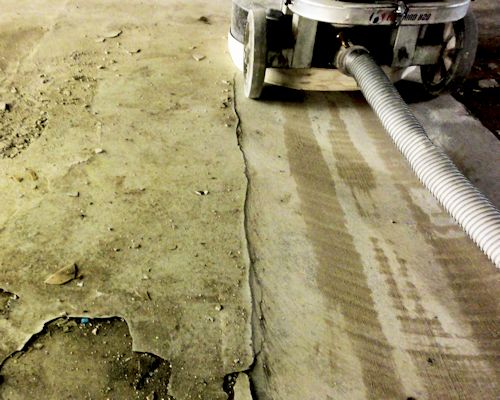
The main purpose of concrete grinding is to remove ridges, contaminants and loose material from the subfloor surface. By removing ridges and imperfections through grinding, you can often reduce the overall cost of preparing the surface for a floor covering. If you're able to achieve a surface finish smooth enough to allow carpet or vinyl to be laid straight on top, you'll not only avoid the expense of a cement-based skim coat, you'll also save yourself the waiting time for the skim coat to dry.
 Audio for slide 10 (mp3)
The best machine for a concrete preparation job depends on the nature of the material you want to remove and the amount you need to take off. It also depends on the surface 'profile' and flatness you're looking for.
 Audio for slide 11 (mp3)
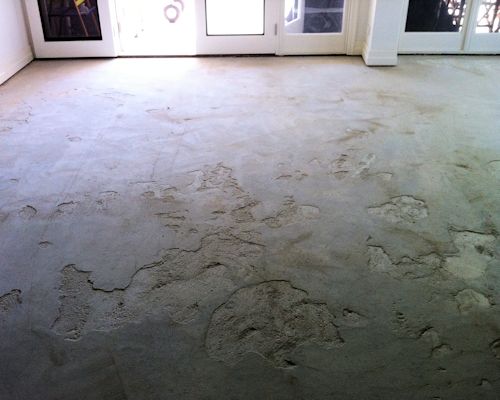
The sorts of contaminants you may need to remove include oil, grease, asphalt, curing compounds and adhesive residues. Loose surface material may include old or cracked cement-based toppings. It could also include laitance, which is a powdery or milky layer of cement and sand. For more details on the nature of these problems and the effect they have on underlayments and adhesives, go to: 'Inspecting concrete subfloors' (in Inspecting and testing subfloors).
 Audio for slide 12 (mp3)
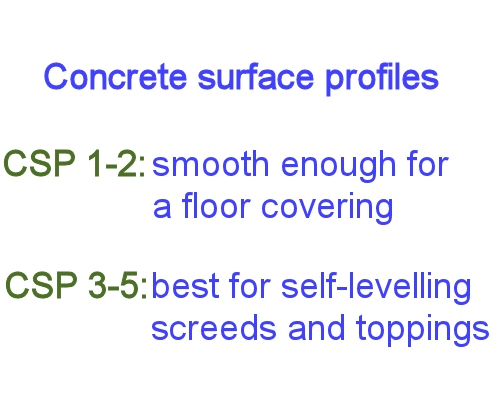
Machine types Set out below are the main machines used to prepare a concrete subfloor. The 'CSP' numbers refer to the concrete surface profile of the floor once the machine has done its job. Basically, the lower the number, the smoother the surface will be. We'll explain CSP more fully in the next lesson, but for now you should keep in mind the following guide: CSP 1 or 2 provides a surface smooth enough to lay a floor covering directly on top CSP 3 to 5 is fine for self-levelling screeds and toppings, but not for directly applying a covering.
 Audio for slide 13 (mp3)
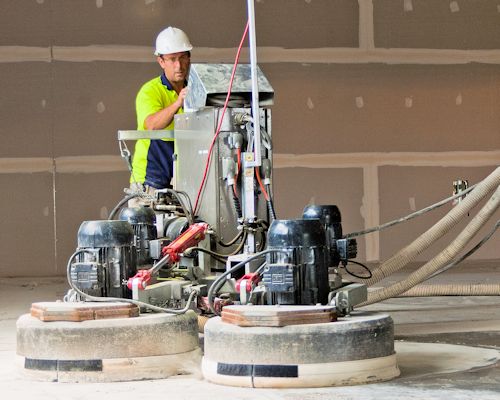
Grinders Concrete grinding machines use rotating heads to smooth and level the concrete surface. The process is called 'diamond grinding' when the abrasive discs contain diamond particles. However, tungsten carbide discs can also be used, especially when thick membranes and glues need to be removed. Diamond grinders provide a surface finish of CSP 2 and can take off high spots or uneven joints to a depth of about 1 to 3 mm. They are also good at removing sealers, paints and adhesives.
 Audio for slide 14 (mp3)
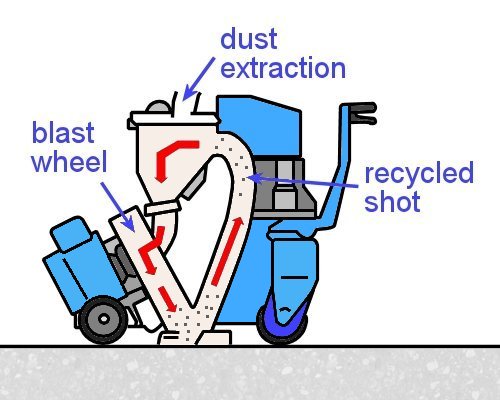
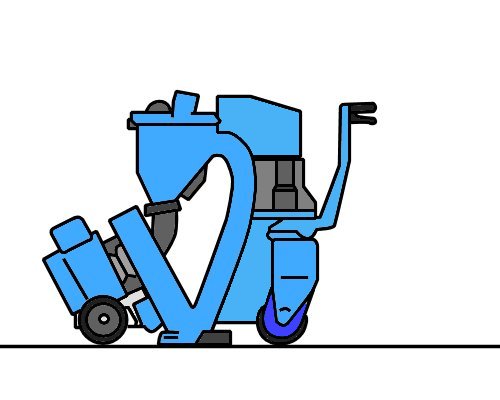
Shot blasters Shot blasters throw thousands of steel shot particles at very high speed onto the concrete surface to remove weak or loose material. The machines are very manoeuvrable, entirely dustless, and relatively low noise. The surface profile achieved by shot blasters ranges from CSP 3 to 7, depending on the grade of shot used. They are best at removing laitance and other weak surface materials, but not as successful with thick coatings and adhesives. They are also unable to level a floor, because the blasting process tends to remove similar amounts from high areas and low areas.
 Audio for slide 15 (mp3)
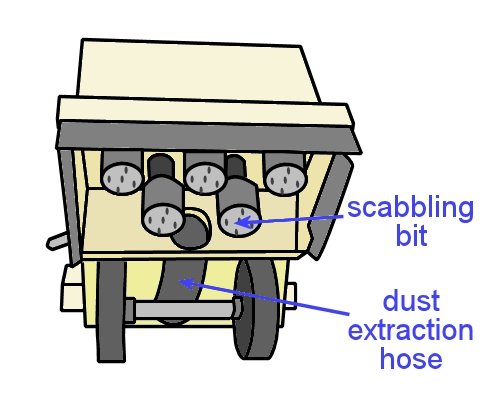
Scabblers Scabblers are much more aggressive than grinders and shot blasters, and can remove up to 6 mm of surface thickness per pass. They use a percussion action to hammer the scabbling bits into the surface with pistons powered by compressed air. With a CSP ranging from 6 to 9, scabblers can cause a lot of surface damage. They are typically used on footpaths, roads and runways, and can also be used to create non-slip surfaces on ramps.
 Audio for slide 16 (mp3)
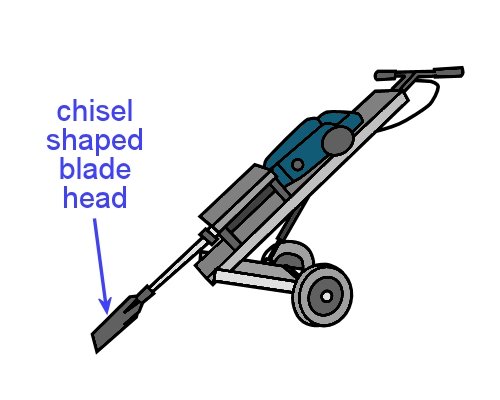
Chisel scrapers Chisel scrapers are basically jack hammers with a wide chisel-shaped blade head. Different heads can be fitted for different purposes, such as lifting tiles, vinyl and cork from the floor, removing residues or even breaking up concrete or sandstone. Most scrapers are pneumatic (air operated), but some models use 240 volt or battery power. Because they are not really designed for removing the concrete surface itself, a CSP number is not relevant to their action.
 Audio for slide 17 (mp3)
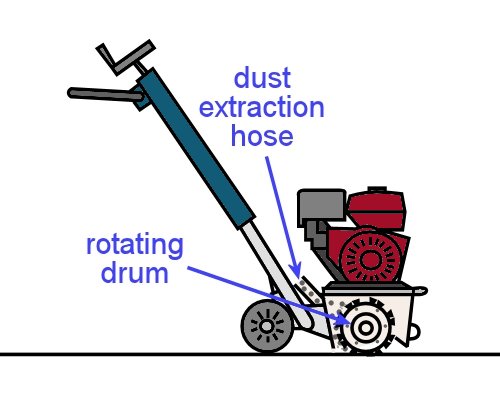
Scarifiers Scarifiers are a form of milling machine with a rotating drum. The cutters are made of tungsten carbide or hardened steel, and they plane the surface of the concrete to produce a roughened finish of varying profiles, depending on the cutter assembly used. Most scarifiers produce a surface profile of CSP 6 to 9. However, with a new attachment called 'flat-faced tungsten flails' these machines can achieve a CSP of 3 to 4.
 Audio for slide 19 (mp3)
In the previous lesson we looked at the range of machines used to remove the top layers of a concrete floor. Each type of machine has its own mechanical action, which can often be described in more precise terms. Different machines also produce different surface profiles.
 Audio for slide 20 (mp3)
The International Concrete Repair Institute has developed a set of guidelines for assessing a concrete surface profile (CSP), ranging from CSP 1 (nearly flat) to CSP 9 (very rough). Follow the link below to see an information page from Floorex showing a photo for each profile and giving an example of the processes used to achieve it. Surface profile guide
 Audio for slide 21 (mp3)
Surface treatments and CSPs Below are the mechanical actions and other forms of treatment used to remove surface contaminants from concrete. Also shown are the CSP numbers that typically apply to these treatments.
 Audio for slide 22 (mp3)
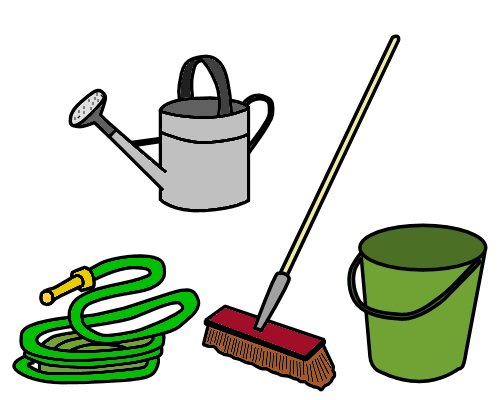
Chemical reactions are produced when detergents or acids are used to remove surface contaminants. Most chemical washes don't have any effect on the CSP. However, there are various cautions that apply, especially in neutralising and hosing off the acid wash with water. You must also ensure that the slab is allowed to dry out to a relative humidity level that's safe for installing a floor covering. For more details, see 'Preparing concrete substrates' (in Subfloor coatings and toppings).
 Audio for slide 23 (mp3)
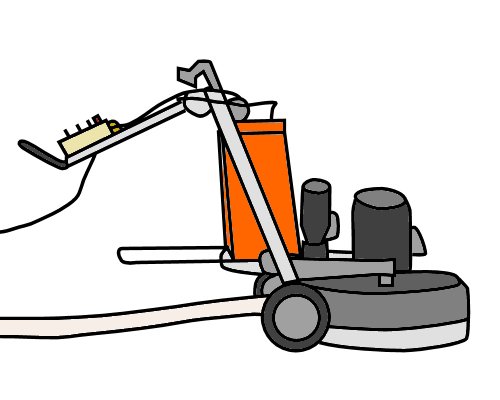
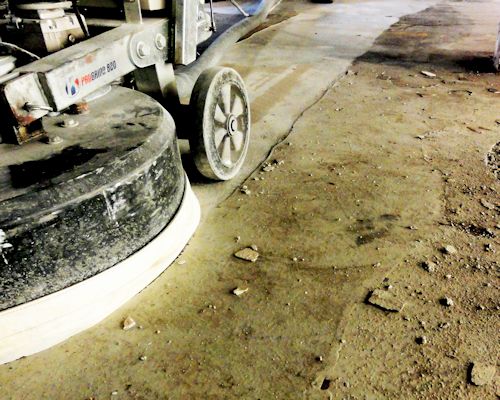
Abrasion is used by grinders to erode the surface through a rubbing action. In many cases, grinders are able to smooth and level a floor to a standard that is sufficient for laying a resilient floor covering directly on top. They can achieve a surface profile of CSP 1 to 2.
 Audio for slide 24 (mp3)
Pulverization is the removal of material through blasting with small particles, such as sand or steel shot. This is the process used by sand blasters and shot blasters, with wide ranging profiles of CSP 2 to 8.
 Audio for slide 25 (mp3)
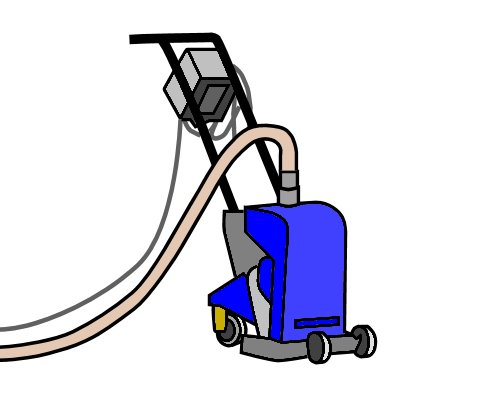
Impact is used by scarifiers and scabblers to break up the concrete surface by repeatedly hitting it with hardened cutters or bits. This mechanical action has the most potential to damage the concrete, but the profile can be varied with different attachments, ranging from CSP 4 to 9.
 Audio for slide 27 (mp3)
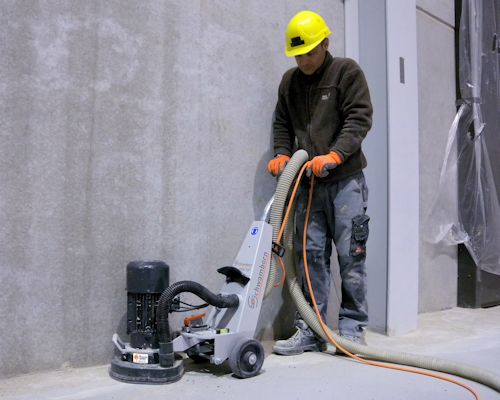
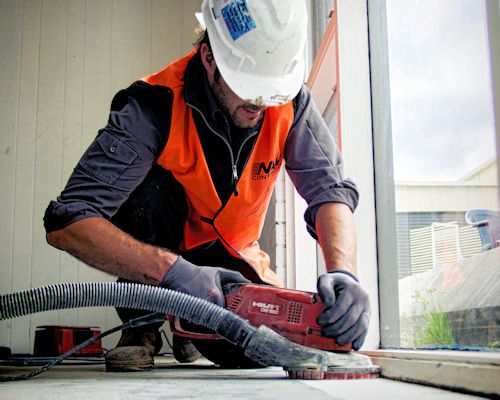
Grinders come in a huge range of sizes and types. The final choice you make will depend on the size of the job and the type of material you need to remove. In corners and tight areas, you can use a hand held grinder. These purpose-made grinders have a dust shroud and extraction hose, unlike an ordinary angle grinder. It's important to use these attachments when you're grinding concrete and generating a lot of dust.
 Audio for slide 28 (mp3)
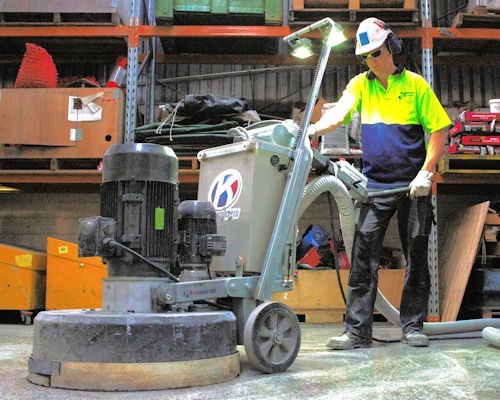
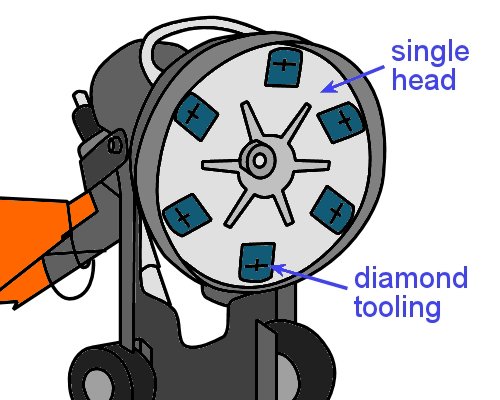
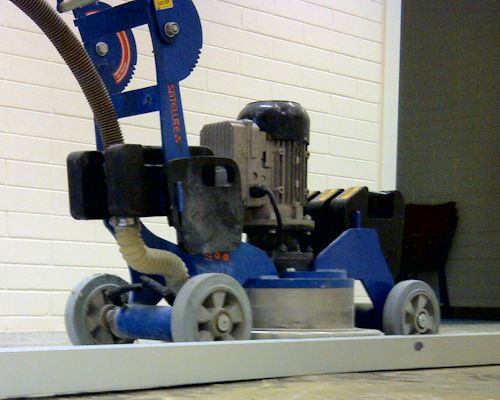
For the body of the floor, you'll need a walk-behind grinder. Most floor layers use machines driven by mains electricity - either 240 volts or three phase. However, petrol, diesel, LP gas and compressed air are sometimes used to drive larger models. The most common types of heads are single, double and planetary action, but it's also possible to get four headed grinders and other configurations for large projects.
 Audio for slide 29 (mp3)
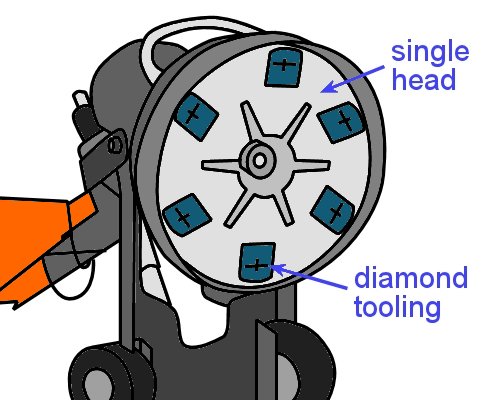
Single headed grinders These grinders have a central shaft that drives a single head. On smaller machines the head comprises one disc, often with a diameter of 250 mm. Larger machines can take three discs in a range of diameters, generally up to 250 mm each, which gives them a grinding width of 550 mm or more.
 Audio for slide 30 (mp3)
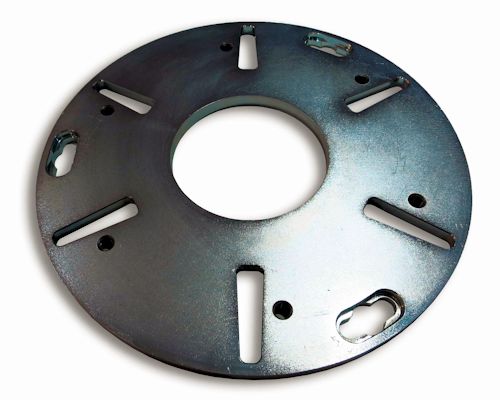
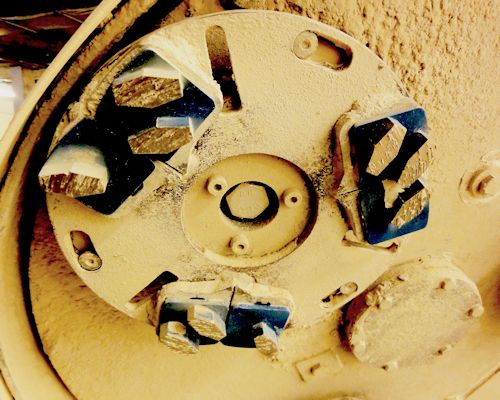
Some machines contain six discs, typically with a reduced diameter. However, these machines are designed more for concrete polishing rather than preparing a surface for a floor covering. Depending on the type of tooling you're using, the disc will have slots, holes or other mounting fixtures to take the diamond segments or plugs.
 Audio for slide 31 (mp3)
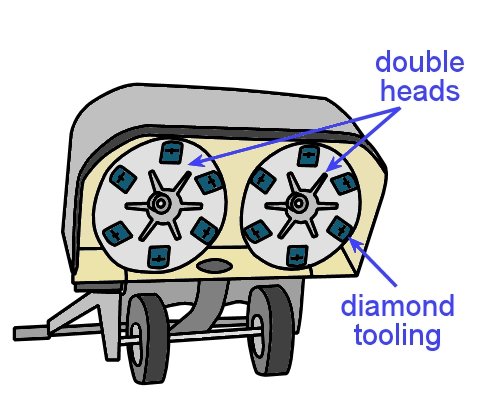
Double headed grinders As the name suggests, double headed grinders have two shafts, and each one takes one or more discs. On some machines, the shafts are counter rotating - that is, they rotate in opposite directions - to balance the torque and make the machine more manoeuvrable. Other machines allow both heads to rotate in the same direction. These grinders tend to pull to one side, which is a characteristic that can be put to good use when you're working along a wall. The grinding width typically ranges from about 750 mm to 1000 mm.
 Audio for slide 32 (mp3)
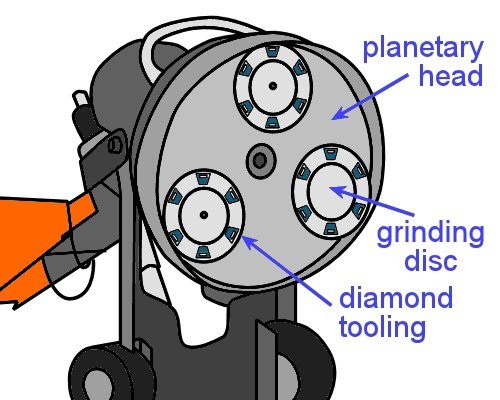
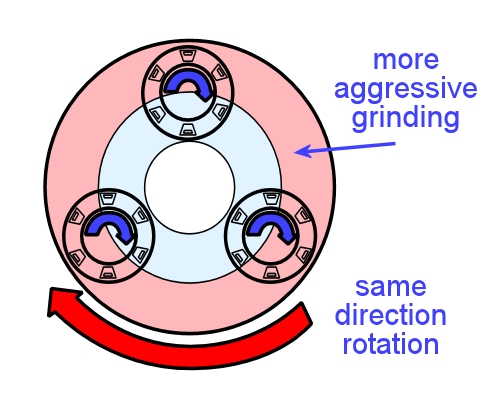
Planetary action grinders The idea of a planetary action grinder is to enable the large planetary head to rotate independently of the grinding discs - or 'satellites' - that are mounted to it.
 Audio for slide 33 (mp3)
When they are used for surface preparation, the grinding discs and planetary head are all rotated in the same direction. This has the effect of increasing the speed, and therefore the aggressive nature of the cut, when the diamonds are closer to the outside of the head.
 Audio for slide 34 (mp3)
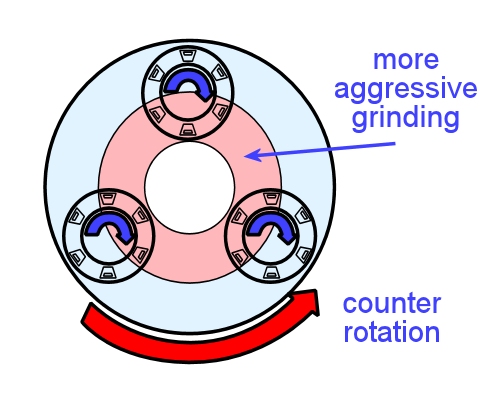
For concrete polishing, the head and grinding discs can be set in counter rotation, which changes the area where the more aggressive grinding takes place. However, counter rotation is not used when grinding the floor in preparation for a covering.
 Audio for slide 36 (mp3)
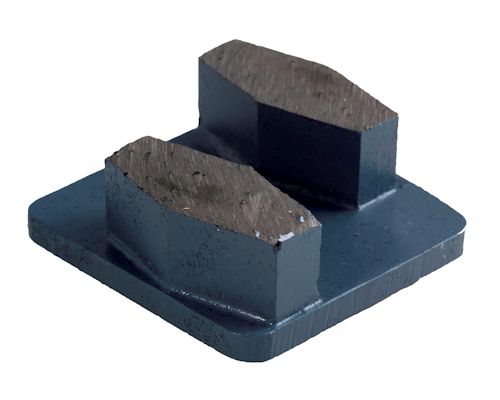
Diamond is used in abrasive products because it is the hardest material there is. Diamond abrasives are made by mixing synthetic diamond grit with a binding agent of metal or resin. The resulting products are called metal bond or resin bond diamond segments.
 Audio for slide 37 (mp3)
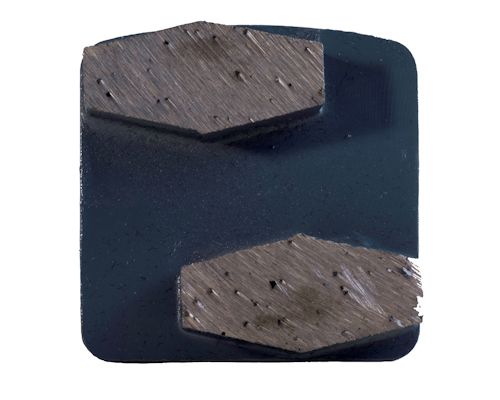
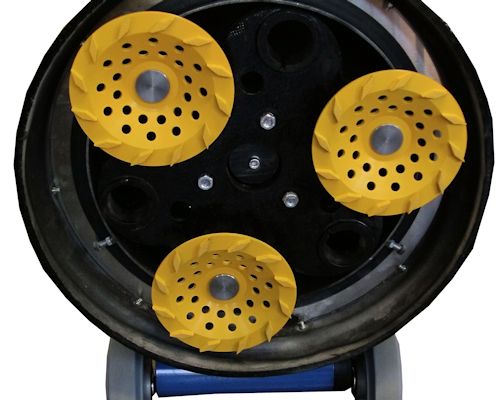
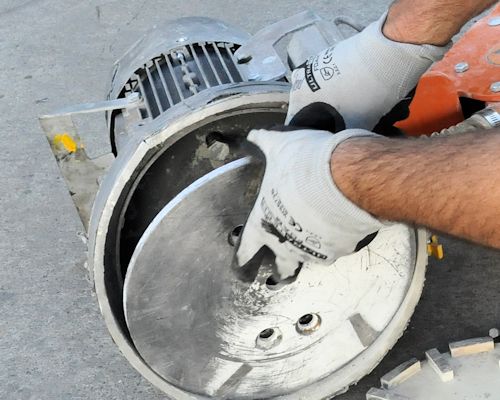
This photo shows the metal bond diamond segments suitable for use on the disc shown above. The smoothness of the surface finish on the floor is determined by how fine or coarse the diamond grit is. A small grit size will produce a finer scratch pattern and increase the life of the segment. A large grit size will have the opposite effect.
 Audio for slide 38 (mp3)
The life of the segment is also controlled by the hardness of the bond. A hard bond will take longer to wear away and expose more diamond grit, where a softer bond will wear away more quickly. A hard bond also produces a finer scratch pattern in dry grinding.
 Audio for slide 39 (mp3)
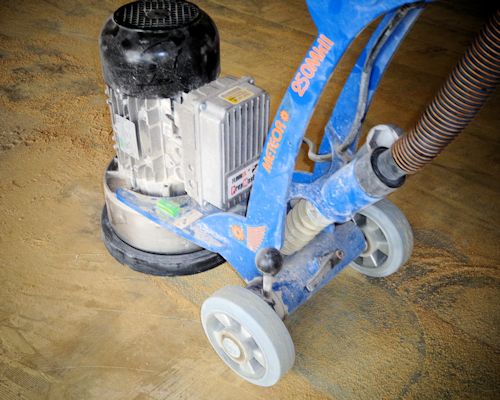
The number of diamond segments under the machine will also have an effect on the surface finish. Increasing the number of segments will reduce the amount of work each segment has to do and create a smoother scratch pattern. It also reduces the load on the machine.
 Audio for slide 40 (mp3)
Another technique used to increase efficiency is to put extra abrasive material onto the floor, such as sand or silicone carbide.
 Audio for slide 41 (mp3)
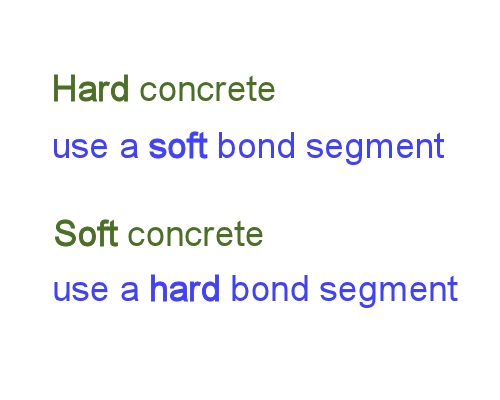
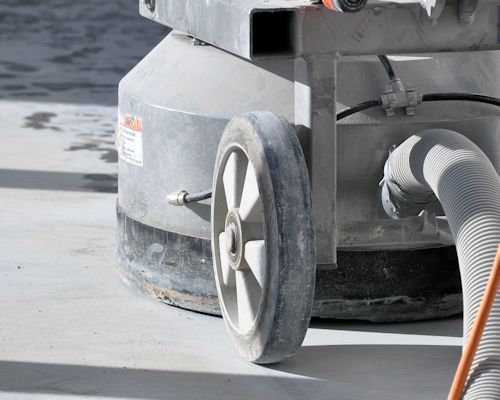
Selecting the right tooling The rule of thumb for selecting the right diamond segment for a particular slab is: If the concrete is hard - use a soft bond segment If the concrete is soft - use a hard bond segment.
 Audio for slide 42 (mp3)
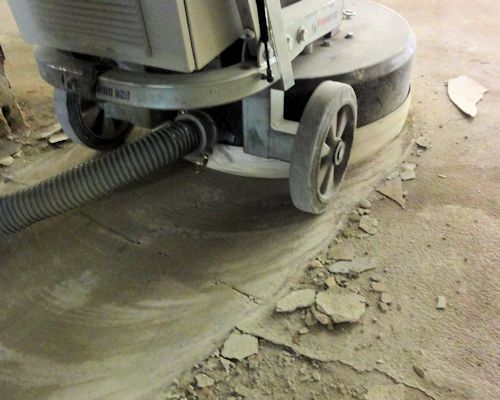
This rule applies in general because hard concrete tends to produce fine, powdery dust, which is not very abrasive. As a result, it doesn't help to wear down the binding material in the segment and expose new diamonds to perform the cutting action. In some cases, if the bond is too hard, the segment may stop grinding altogether and start to glaze over as it overheats. So you need to use softer bond that will open up more easily to keep the diamond grit working.
 Audio for slide 43 (mp3)
By contrast, if the concrete is soft and producing a much coarser dust, the dust will have an abrasive effect on the segment and wear it down faster. In this instance, you should use a segment with a harder bond to avoid going through the material too quickly.
 Audio for slide 44 (mp3)
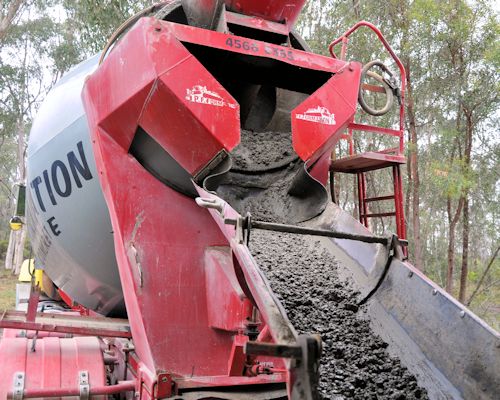
How do you know how hard or soft the concrete is before you start? In general, the higher the compressive strength of the concrete, the harder it will be. Compressive strength is measured in megapascals (MPa) and is specified when concrete is ordered from the supplier.
 Audio for slide 45 (mp3)
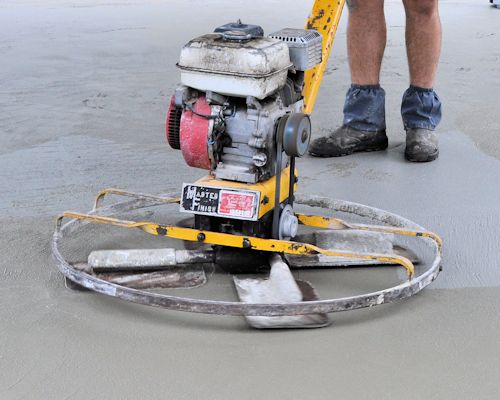
However, given the fact that the grinding process normally only deals with the surface layers (often the top 5 mm or so), the surface condition of the concrete is often far more important than its compressive strength. For example, a highly burnished surface, caused by over-trowelling of the wet concrete, can make the surface very smooth and behave like hard concrete. On the other hand, a rain-damaged or shot blasted surface will produce more gritty, sandy dust, and so behave more like soft concrete.
 Audio for slide 46 (mp3)
In the end, the best way to select the right tooling for a particular slab is to look up the table supplied by the manufacturer and make an educated guess, based on the type of material you're removing and the manufacturer's suggestions. Then you should see how the segments go, and inspect them regularly while you're working. You may need to change the segments if they are wearing too quickly or not wearing enough. For more information on diamond tooling and hints on how to select the right tooling for the job, go to the Floorex website and download: 'What is diamond grinding?'
 Audio for slide 49 (mp3)
Now that we've covered the basic principles of grinding, let's apply that knowledge to the practice of grinding a floor. This section provides guidelines on safe work procedures and the main steps involved in setting up and operating a grinder.
 Audio for slide 50 (mp3)
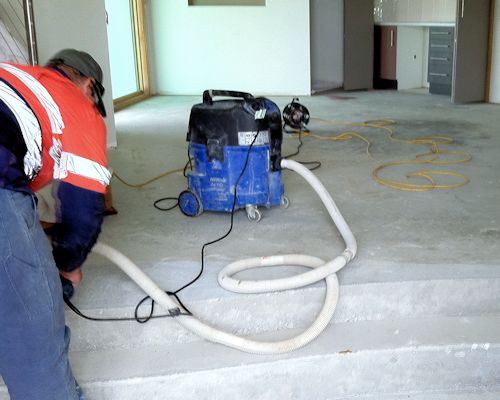
Note that the suggestions provided in these lessons are not designed to take the place of the manufacturer's manual for your own machine. Always follow what the manual says, because it's been written by the engineers who have designed the machine and tested it under lots of different conditions. You should also work with an expert operator while you're learning how to use the machine.
 Audio for slide 51 (mp3)
Remember, every job has its own characteristics and trickly little quirks, so you need to be able to 'read' the slab and adapt your techniques accordingly. The only way to do this is through hands-on experience, under the direct guidance of your trainer or supervisor.
 Audio for slide 53 (mp3)
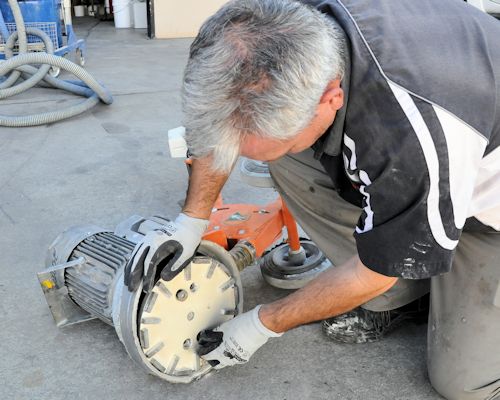
Like most machines, concrete grinders are safe to use when you follow the manufacturer's recommendations. But they can be potentially dangerous if you try to take shortcuts or don't use safe work practices. Below is a checklist of the main points you should consider.
 Audio for slide 54 (mp3)
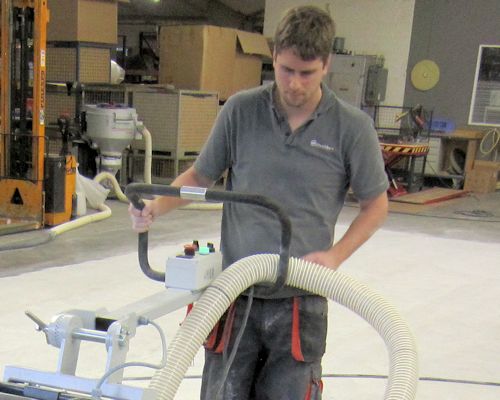
Before you start Familiarise yourself with the equipment. If you haven't used the machine before, make sure you read the manufacturer's manual, or have an experienced person to show you how it works.
 Audio for slide 55 (mp3)
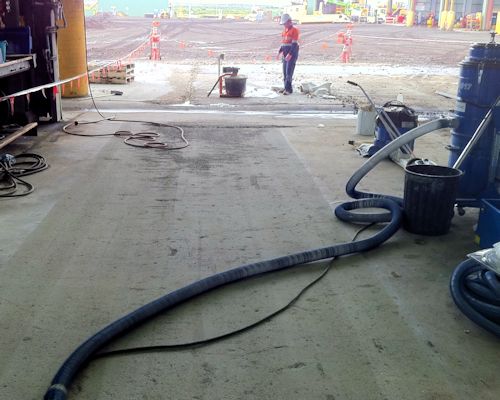
Check that the environment you're going to use the machine in is safe - in other words, carry out a risk assessment. The sorts of things you should look for include:
- wet environments which might cause electrical short circuits
- cluttered or excessively dirty floors
- poorly lit areas
- other workers in the area.
 Audio for slide 56 (mp3)
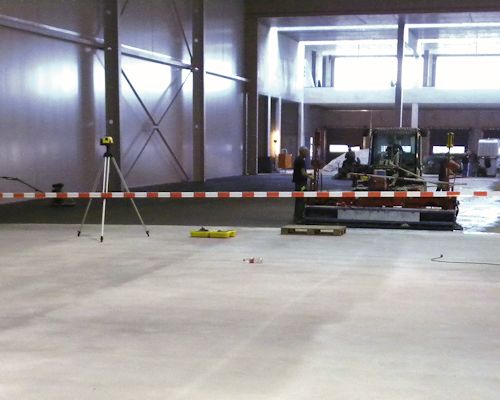
If there is a risk that children or bystanders may walk into the area, be sure to put up barriers or have an offsider nearby to control people's movements. For more information about the risk assessment process, see: 'Managing risks' (in Working safely).
 Audio for slide 57 (mp3)
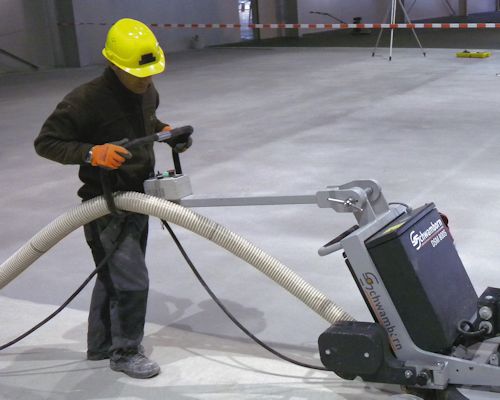
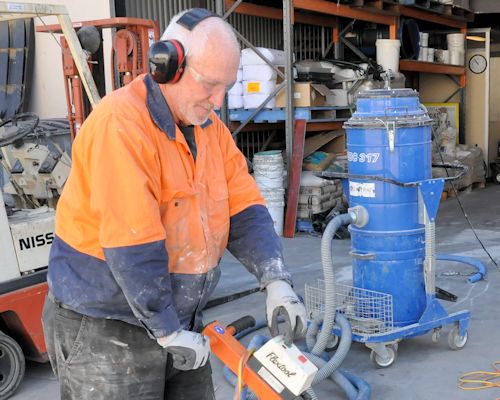
Setting up the machine Wear appropriate clothes and personal protective equipment. Don't wear loose clothes that could get caught in moving parts. Wear fully enclosed, non-slip shoes or boots. Make sure your ear muffs or plugs are at the ready for when you start the machine. Depending on the job you're doing, you may also need gloves, safety glasses, dust mask and a hard hat.
 Audio for slide 58 (mp3)
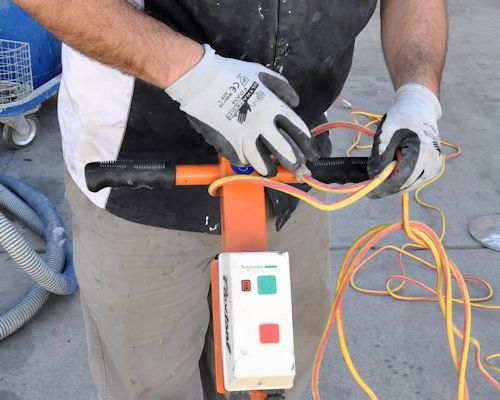
Check that the accessories and attachments are properly fitted and that all guards and other safety devices are in place and working properly. Before you inspect any parts, make sure the power is turned off and the lead unplugged from the power source. Make sure the extension lead is heavy enough to take the current required. Remember that the longer the lead, the heavier it will need to be to cope with the voltage drop over that distance.
 Audio for slide 59 (mp3)
Operating the machine When you start up the machine, listen for unusual noises or vibrations. If anything doesn't sound or feel right, turn the machine off straight away and look for the problem. If you can't fix it on the spot, put a tag on the machine to indicate that it's out of order, and either tell your supervisor or take it to an authorised person for repair.
 Audio for slide 60 (mp3)
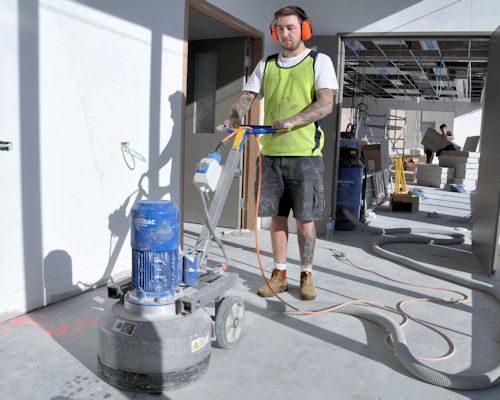
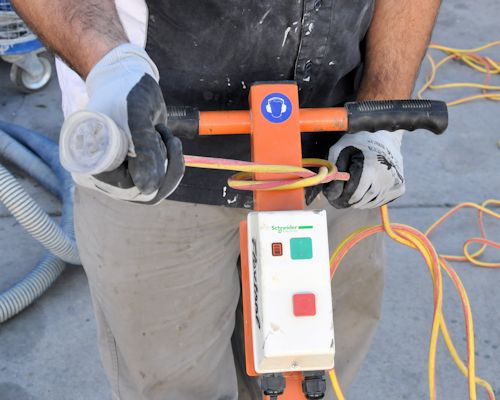
While you're working, maintain a balanced position and keep a firm grip on the handles. Don't over-reach or work at an awkward angle. Keep your hands and feet away from moving parts at all times. Also make sure that the rotating plates don't come into contact with the power lead.
 Audio for slide 61 (mp3)
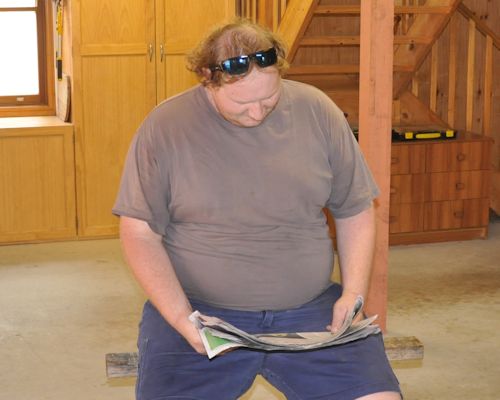
Stay alert while you're working. If you start to feel tired or are losing your concentration, stop work and have a break. Never use the machine if you are under the influence of drugs or alcohol. This includes prescription drugs that might cause drowsiness or affect your ability to work safely.
 Audio for slide 62 (mp3)
Shutting down When you've finished using the machine, unplug it from the power source. If it is diesel or petrol operated, turn off the fuel line or isolate it as recommended by the manufacturer.
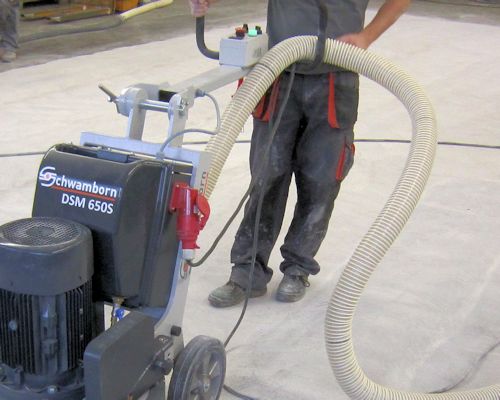 Audio for slide 63 (mp3)
Inspect the power lead and extension lead for damage before you put the machine away. Also inspect other parts that may get damaged or wear out over time. If anything needs repairing, tell your supervisor or take the machine to an authorised person. Don't just pack it up and forget about the problem - because the problem will still be there when you go to use the machine next time.
 Audio for slide 64 (mp3)
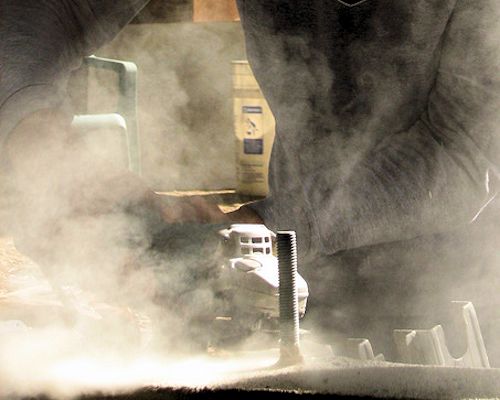
Dealing with dust Concrete grinding produces silica dust. If the dust is breathed in over a period of time, it can lead to a disease called silicosis or scarring of the lungs. This was such a common problem for grinder operators in years past that one of its common names was 'grinder's asthma'.
 Audio for slide 65 (mp3)
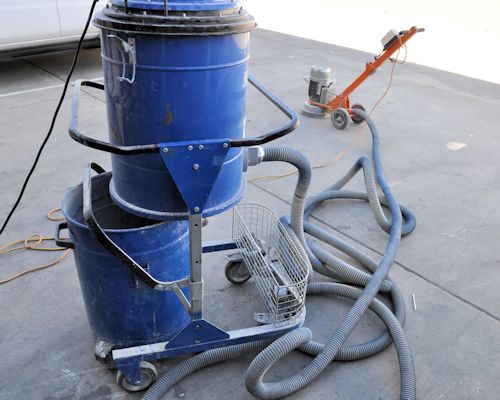
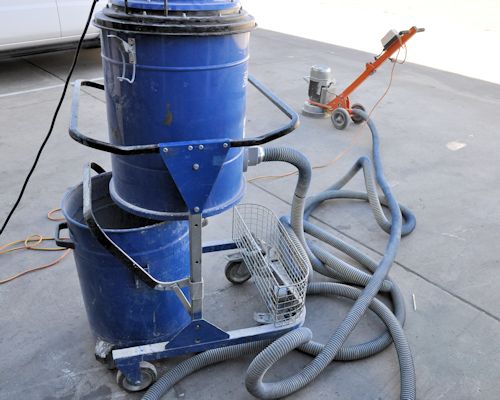
Fortunately, most modern machines have very good dust extraction systems. Depending on the model you're using, this may include a separate dust collector and a rubber 'skirt' around the bottom of the machine.
 Audio for slide 66 (mp3)
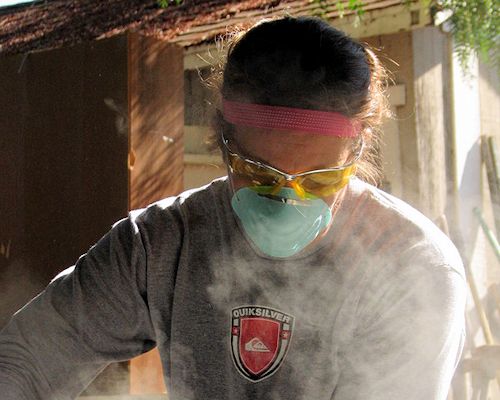
However, you still need to be careful when you're dusting down the machine and cleaning up the work area at the end of the day. If you're doing anything that generates dust and it's not being collected by an efficient extraction system, make sure you wear an appropriate dust mask.
 Audio for slide 67 (mp3)
There's one type of dust that floor layers need to be especially mindful of when they're working in older buildings - asbestos. If you don't know what the floor surface is composed of, or you suspect it might contain asbestos, don't grind it. We talked about the problem of asbestos and how to deal with it in the lessons shown below. 'Preparing concrete substrates' (in Subfloor coatings and toppings) 'Assessing the subfloor' - Learning activity (in Lay flat vinyl).
 Audio for slide 68 (mp3)
Manual handling Grinding machines can be very heavy. Always use good lifting practices and get an offsider if you need extra help. We talked about good manual handling techniques and ways to avoid muscle and joint injuries in the lesson: 'Manual handling' in Working safely. You should go back to that unit and revise the details if you can't remember the principles of good manual handling.
 Audio for slide 69 (mp3)
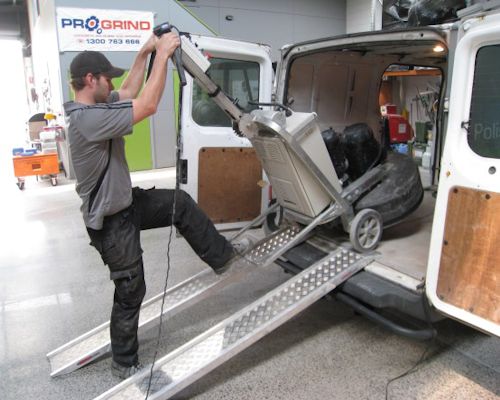
For larger machines, you'll need some form of mechanical assistance to get it on and off your vehicle. Most operators use aluminium loading ramps and a winch. The machine will have a hook or winching point for connecting the cable to. It's important that you use this point, so you don't damage any fragile parts of the machine.
 Audio for slide 70 (mp3)
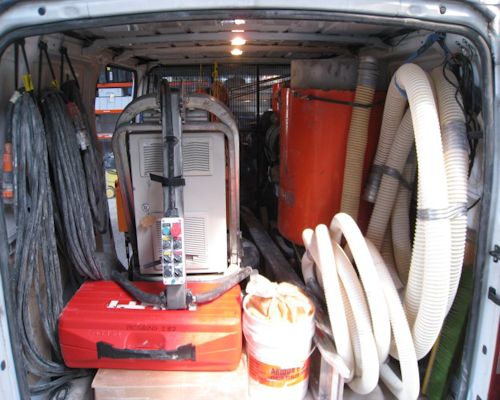
Once the equipment is in position inside the vehicle, it needs to be well secured to make sure it doesn't move around while you're driving. You can use tie down straps to hold the machine tight against anchor points in the floor or sides of the vehicle.
 Audio for slide 71 (mp3)
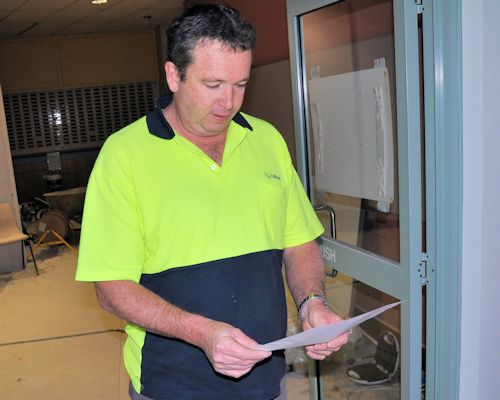
Safe operating procedures Most companies have a Safe Operating Procedure (SOP) for each piece of equipment their workers take on-site that is potentially hazardous. They also generally complete a simple risk assessment before starting work at any new jobsite. The link below will take you to a combined SOP and risk assessment form for a hand held grinder. This has been developed by Epoxy Solutions, and is filled in by their workers each time they use the grinder on-site. Hand held grinder SOP
 Audio for slide 73 (mp3)
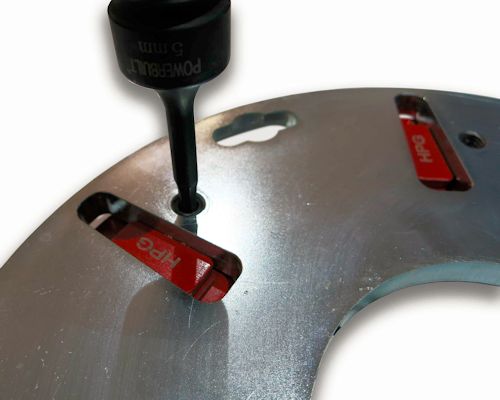
We discussed the basic principles of tooling in the Section 1 lesson: 'Diamond tooling'. Let's now pick up where we left off and talk about different configurations, and how to set up the most suitable tooling for a particular job.
 Audio for slide 74 (mp3)
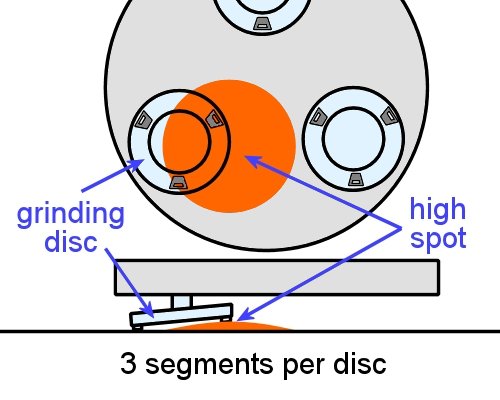
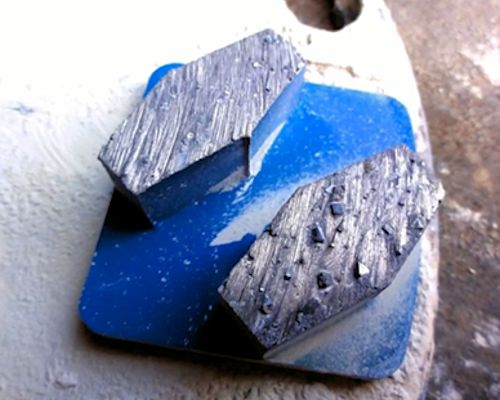
Number of segments on a disc You may have noticed that a tripod never rocks backwards and forwards on a floor, even if the surface is uneven. This is because there are only three legs. In the same way, three diamond segments, or 'shoes', on a grinding disc will tend to follow the surface of the floor. This makes them good at removing old adhesives and other contaminants, because they are less likely to miss low spots and hollows in the floor.
 Audio for slide 75 (mp3)
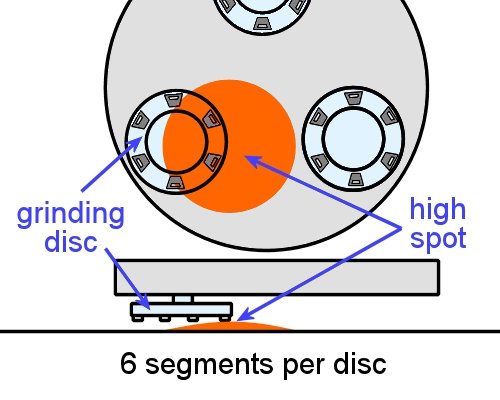
However, for the very same reason they are not good at producing a flat floor. To remove undulations (or 'waves') in the floor, you need to use four or more segments. Many machines use six segments per disc for grinding down high areas to achieve a flat surface. This set-up also runs more smoothly and gives a finer cut, because there is less distance between the segments.
 Audio for slide 76 (mp3)
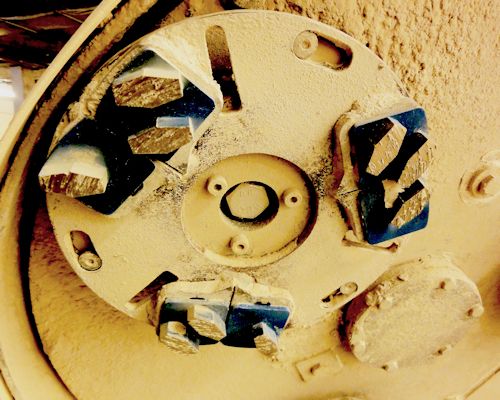
Some manufacturers use the terms 'half set' and 'full set' of diamonds to refer to these two basic configurations. Note that if you plan to use both set-ups on a floor, always start with a half set and finish with a full set.
 Audio for slide 77 (mp3)
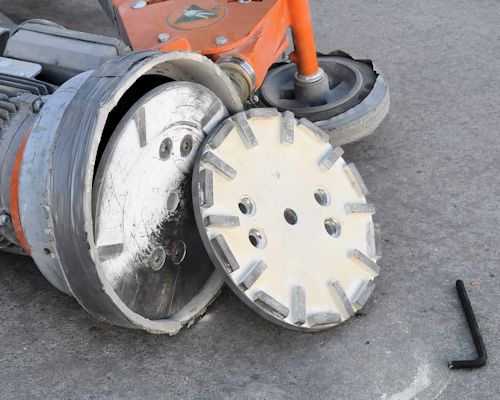
Grit size The lower the grit size, the coarser the diamonds will be. So a higher grit size will give you a smoother finish, but it won't be as effective in removing heavy contaminants from the surface. To smooth rain damaged or rough concrete, it's best to start with a grit size of around 20 to 40. To remove contaminants, such as glues, epoxies or levelling compound, a lower grit size is better, say 20 or less.
 Audio for slide 78 (mp3)
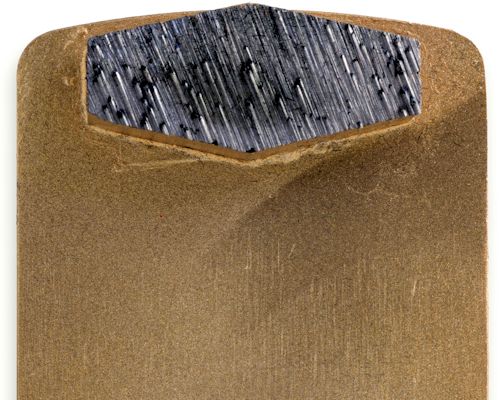
Bond As we discussed in Section 1, the softer the bond, the faster it will wear and therefore the faster it will cut. In general, use a soft bond for hard concrete and a hard bond for soft concrete. But remember, the surface characteristics of the concrete will be just as important as its hardness when you're deciding which bond to use.
 Audio for slide 79 (mp3)
Segments are available in hard, medium and soft bonds. If you're unsure about the concrete's hardness, start with a harder bond and see how it goes. You can always change to a softer bond if your first choice is not doing the job, and it will save you the expense of wearing out the diamonds in a segment that was too soft.
 Audio for slide 80 (mp3)
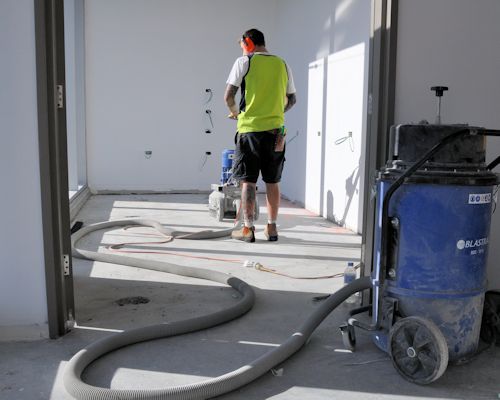
Diamond selection table Some manufacturers include a diamond selection table in their operator's manual, to help you choose the right tooling for a job. These are a good guide, but you always need to match the tooling to the actual conditions you're faced with, and modify it according to the results you're achieving. The link below will take you to an excerpt from the Husqvarna operator's manual for their PG 680 and PG 820 planetary grinders. Diamond selection table for PG 680 and PG 820
 Audio for slide 82 (mp3)
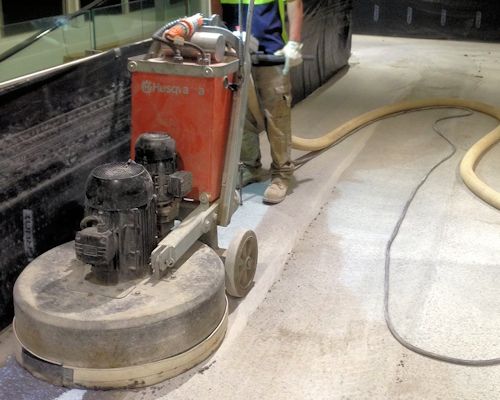
Every grinding machine has an optimal method of operation. The variations in technique between different machines will depend on a range of factors, such as: the size and type of machine it is, including the number of heads and the manufacturer's design the tooling that's been fitted and the CSP you're aiming to achieve the loose material or contaminants that you're removing the presence of high spots or ridges in the floor, especially if you are planning to install a floor covering directly on top.
 Audio for slide 83 (mp3)
Some machines are designed to be moved in a circular motion as they are pushed up and down the floor in parallel lines. Others may have different processes. If you haven't been instructed by an experienced operator on how to use a particular machine, make sure you read the manufacturer's manual before you start. This will tell you what pattern to follow, how much overlap to incorporate, and what to do if you strike unusual features in the floor. Below is a general procedure that applies to most grinding machines.
 Audio for slide 84 (mp3)
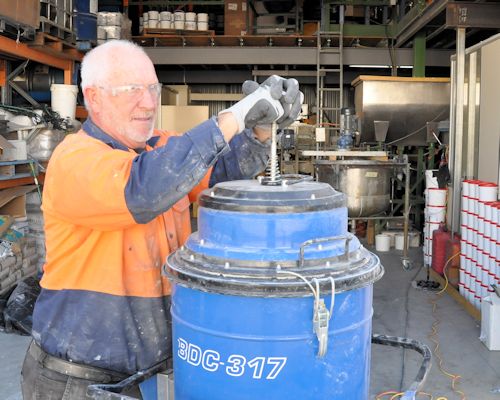
General procedure Assemble all the tools and equipment required, so that everything is to hand when you need it. Clean the floor and prepare the area. This may include isolating smoke detectors if there's a risk that the level of dust might set them off. Inspect the equipment and complete all pre-start checks. Look out for damaged or excessively worn parts, misalignments and binding of moving parts.
 Audio for slide 85 (mp3)
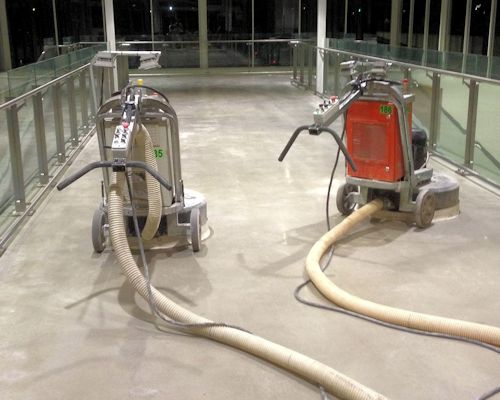
Set up the tooling, depending on the hardness of the concrete and the type of material that needs to be removed from the surface. Connect the dust extraction hose and power lead. Position them so that they will stay out of the way while you're working. Turn on the extraction system and then start up the machine.
 Audio for slide 86 (mp3)
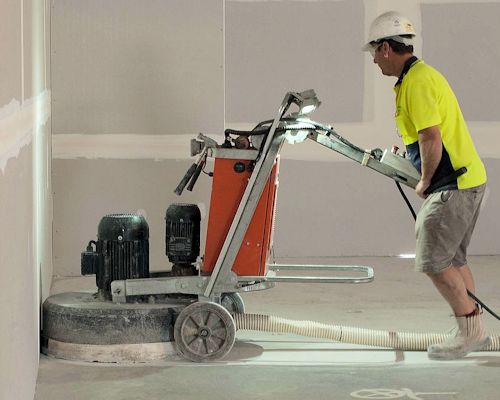
Grind in manageable sections of the floor, working up and down in parallel lines, or as instructed by the manufacturer. Inspect the tooling regularly, and change the grit size and bond hardness to match the conditions and wear rate that's appropriate.
 Audio for slide 87 (mp3)
Shut down the machine when you've finished. Sweep up or vacuum any remaining dust on the floor. Empty out the bag or bin in the dust extractor and dispose of the bag in the designated area. Clean down the machine, extraction system and surrounding work area and pack the equipment away.
 Audio for slide 88 (mp3)
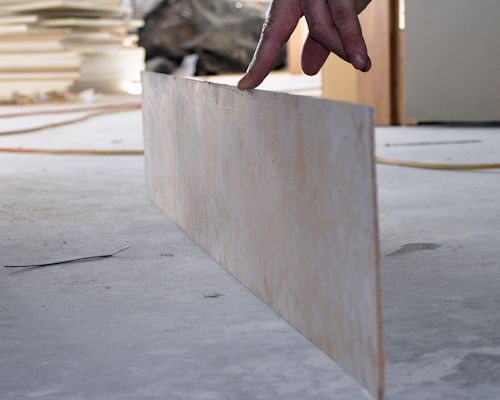
Working to Australian Standards If you're planning to lay a floor covering directly on top of the concrete subfloor, you'll need to carefully check the planeness and smoothness of the surface before you finish the grinding task. The tolerances for both of these characteristics are set by the Australian Standard that applies to the floor covering you'll be laying. We discussed methods for measuring planeness and smoothness in 'Inspecting concrete subfloors' in the unit: Inspecting and testing subfloors.
 Audio for slide 90 (mp3)
Basic maintenance is sometimes called 'operator maintenance', because it involves the day-to-day upkeep that the operator carries out on the machine. For repairs and more advanced service procedures, you should always take the machine to an authorised repairer or give it to your company's maintenance officer. The operator maintenance schedule for your machine will be listed in the manufacturer's manual.
 Audio for slide 91 (mp3)
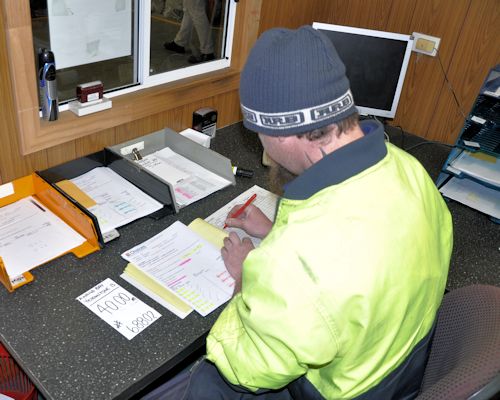
Your company may also use a checklist which requires you to work through the items, tick them off as you go, and then sign the sheet to say you've completed all checks. Below are the sorts of things you need to do to keep your grinding equipment in good order. Note that these procedures are simply examples - you should always refer to your own checklists or the manufacturer's maintenance schedules for the machine you're using, because every machine has its own characteristics.
 Audio for slide 92 (mp3)
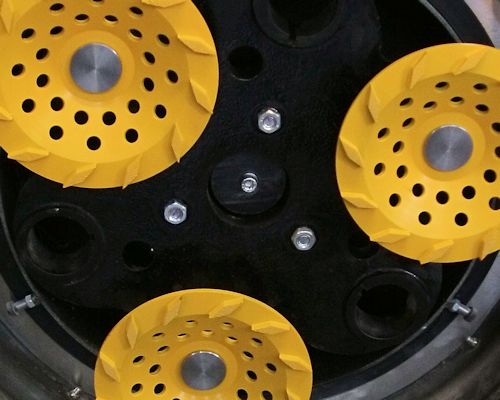
Grinding machine Before each use: Check that the heads are tightly fixed to the shafts and there is no free play or 'slop'. Some operators use Locktite (a thread locking compound) on the nuts to ensure that they don't work loose. On a weekly basis, or at regular intervals: For planetary heads - remove the head and check the chain links and drive sprocket for wear. Also clean out dust from behind the head and in the drive links while the head is removed.
 Audio for slide 93 (mp3)
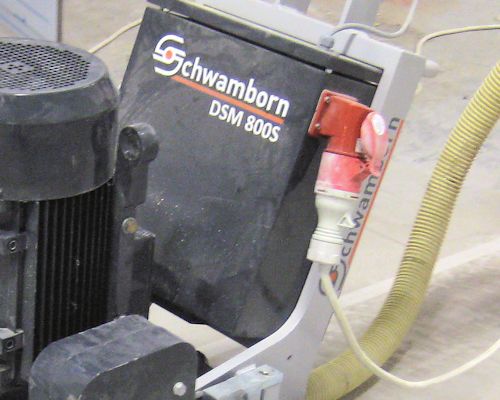
Every two months, or periodically: Blow out the inside of the electrical cabinet and drive linkages with dry compressed air. Every six months, or occasionally: Inspect the internal components of the machine, including drive belts, and remove dust, belt fragments and moisture. Note that the cover plate may require resealing with a silicone sealant.
 Audio for slide 94 (mp3)
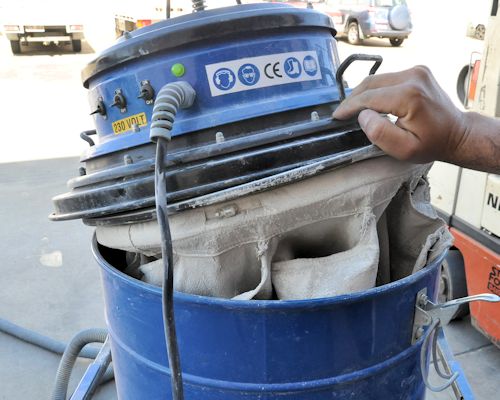
Dust extractor The size and type of the dust collection system you use will be matched to the grinding machine you're operating. Some dust extractors have automatic filter cleaning systems. Others need to be cleaned manually. It's very important that you inspect the filter regularly and check that it is in good condition and working properly. The manufacturer's manual will set out the inspection procedure and what to look for.
 Audio for slide 95 (mp3)
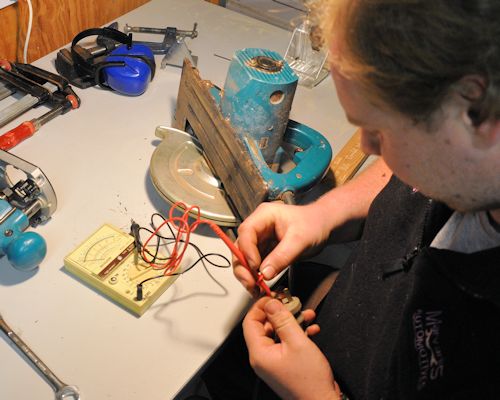
Testing and tagging All electrical tools used at work need to be tested and tagged every three months by an authorised person. The test is designed to ensure that the tools are safe and not likely to cause a fire or electric shock. Make sure the grinder's tag stays up to date. If you don't, you may find that an on-site safety officer tells you to take the machine away and have it tested before you're allowed to use it. It is also a WorkCover offence to have tools on building sites that aren't properly tested and tagged.


