Scale drawings
 Audio for slide 1 (mp3 |6|KB)
When a plan or object is 'drawn to scale', it means that all the lines are in exact proportion to each other.
So a scale drawing is really a proportional drawing that's completed back at the office when you have the time and equipment to make it look more professional.
Some installers use a CAD (computer aided design) software program to produce their final scale drawing for the floor covering plan. This allows you to make changes easily and store the files electronically.

 Audio for slide 2 (mp3 |6|KB)
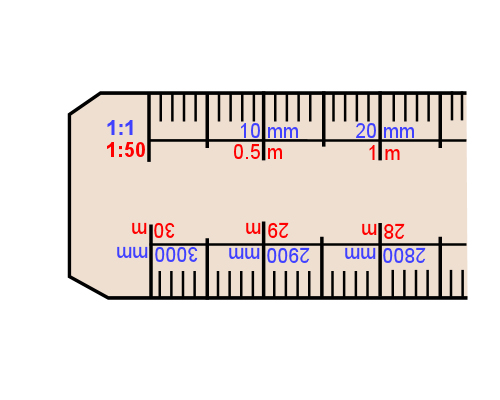
But you don't have to use a CAD program. You can still go about it the 'old fashioned' way with a pencil, scale rule and sheet of plain paper.
It's handy to know how to use a scale rule anyway, because you can 'scale off' any dimensions that aren't physically marked on the drawing.
Although this process isn't perfectly accurate, it can help you to estimate lengths for the purposes of costing up a quotation.

It's handy to know how to use a scale rule anyway, because you can 'scale off' any dimensions that aren't physically marked on the drawing.
Although this process isn't perfectly accurate, it can help you to estimate lengths for the purposes of costing up a quotation.

 Audio for slide 3 (mp3 |6|KB)
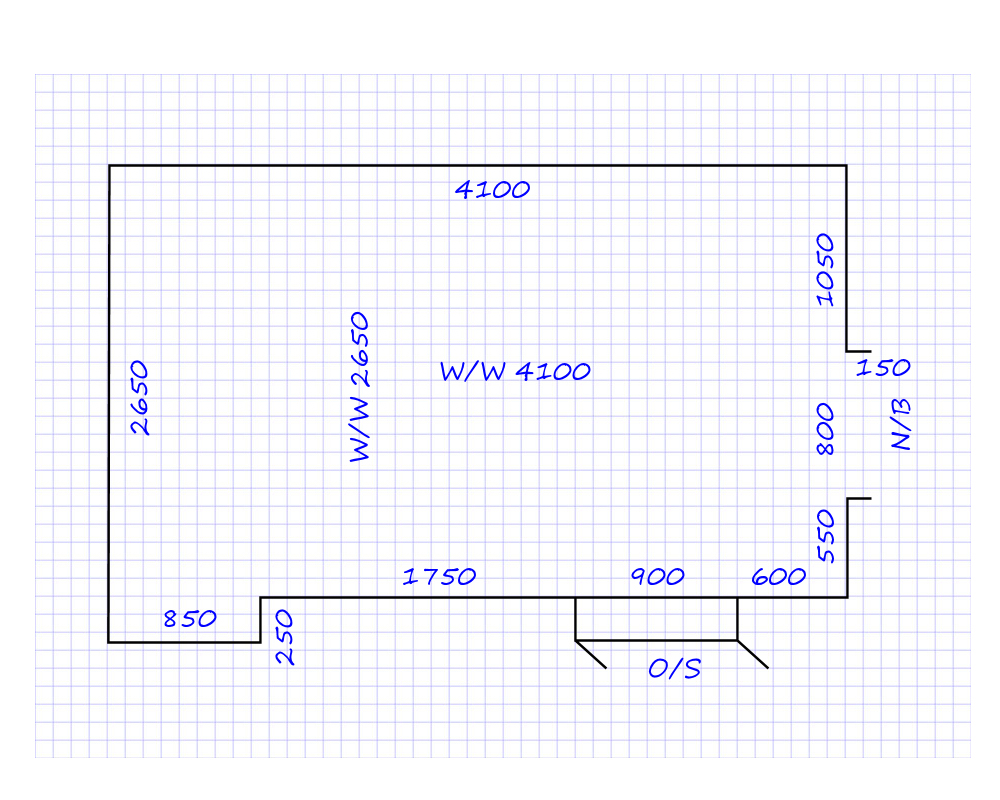
At right is the proportional sketch we saw in the previous lesson. It's been drawn on graph paper with a 5 mm grid.
So if one square equals 100 mm in real life, the scale is:
5 mm = 100 mm, which is a ratio of 1:20.
In other words, for every 5 mm you draw on the page, you're representing 100 mm of length on the actual floor.

So if one square equals 100 mm in real life, the scale is:
5 mm = 100 mm, which is a ratio of 1:20.
In other words, for every 5 mm you draw on the page, you're representing 100 mm of length on the actual floor.

 Audio for slide 5 (mp3 |6|KB)
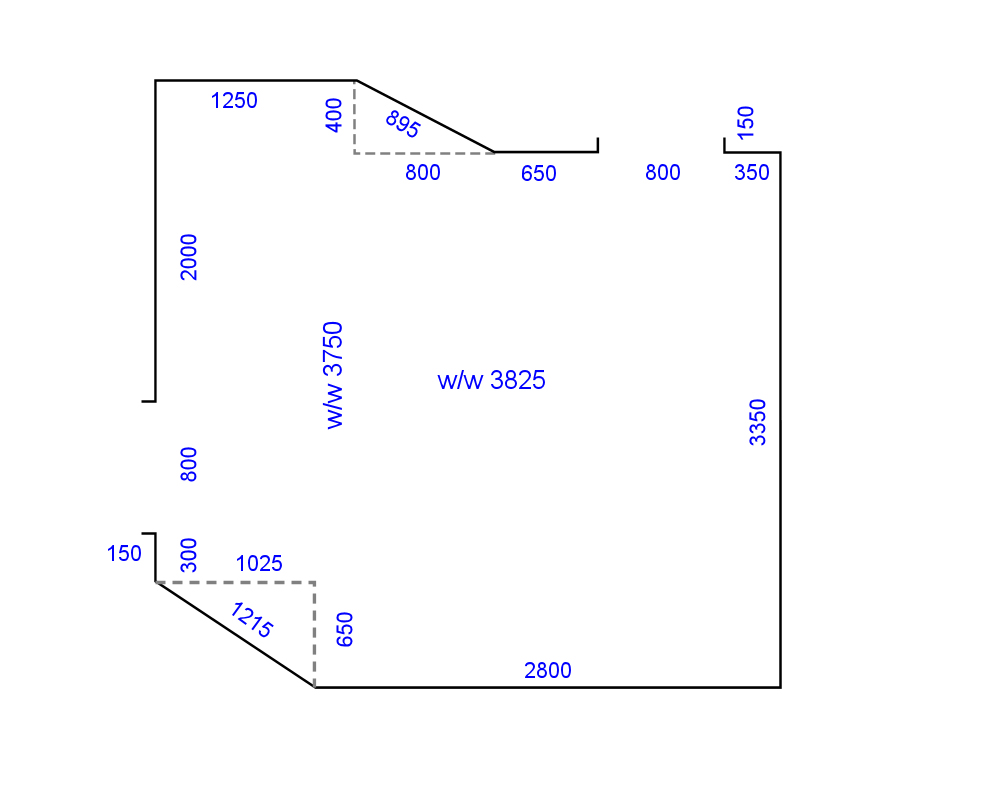
But if you were only drawing one room in your floor covering plan, you might use a scale of 1:20. If you were drawing a couple of rooms, you might use 1:50.
The final choice of scale will depend on the amount of detail you need to show and the size of the page you're working with.
Select the link below to see an example of a scale drawing.

The final choice of scale will depend on the amount of detail you need to show and the size of the page you're working with.
Select the link below to see an example of a scale drawing.

 Audio for slide 6 (mp3 |6|KB)
Making a scale drawing by hand
Here are some guidelines on how to produce a scale drawing using pencil and paper.
- Make a proportional sketch of the area first, noting all the measurements you'll need for the scale drawing.
- Decide on the scale you want to use. This will depend on the size and details of the installation site and what you want to show on your drawing.
- Re-draw the proportional sketch on a blank sheet of paper, using a scale rule and pencil. Start at the bottom right hand corner and draw all lines to scale. Leave space around the outside of the drawing for any notes you may want to add later.
- Rub out any lines that are not correct and re-draw them. Check that the projections and recesses are correctly shown.
- Fill in all measurements on the inside of the drawing. Write down the scale you have used underneath the drawing on the right hand side.


Learning activity
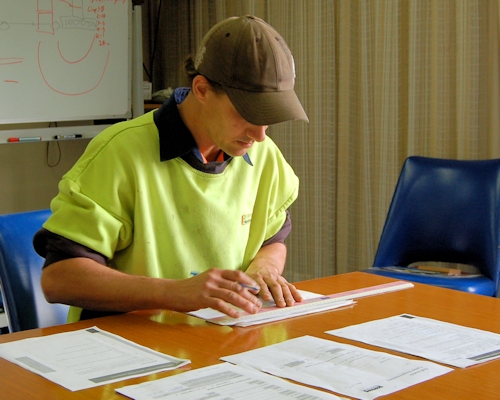
Audio 7 (mp3 |6|KB)Take the proportional sketch that you produced for the last Learning activity and re-draw it as a scale drawing.
Show the finished drawing to your trainer. If you're in a group, compare your drawing to the other learners in your group and look for any discrepancies or mistakes. Make any corrections necessary.

 Go to Using triangulation